How to improve your blog photography
Having awe-inspiring blog photography is one of the most important things to learn when it comes to building your brand online. It’s definitely something I should have started a lot earlier.
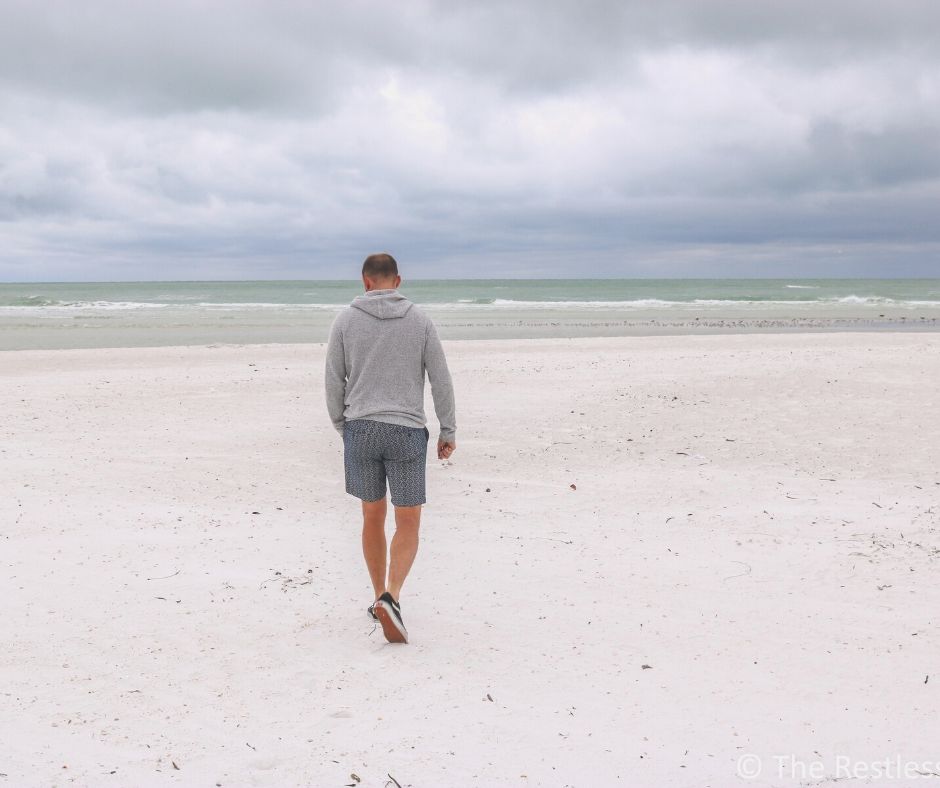
When it comes to blogging, having a quality image can make or break whether your audience stays around for more content or leaves right away. I’ve actually found more often than not on my blog, people can be more interested in the photos I have then information on the destination I’m showcasing.
Once I started focusing on my blog photography, I saw a large increase in not only my pageviews but the amount of time people were spending on my website. For any of you new to the online marketing game, having someone spend lots of time on your page is really important.

There are a few tools that I’ve found along the way that have helped me to enhance my images. If you look back on some of my old posts (note to self: clean those up) you’ll be able to see what I’m talking about.
The old photos are often pixelated, the files are too large (this is important for page speed) and overall just shitty. About a year ago I took it upon myself to learn more about blog photography to help boost the blog overall. I haven’t looked back since.
Let me start by saying, in no way to I classify myself as a photographer but I’ve definitely improved. With so many amazing gadgets that exist today, it’s not hard to improve how your images appear online. I’ve put together a round up of my favourite resources and devices that have helped bring my travel and blog photography skills to the next level.
Choosing the gear
Cameras
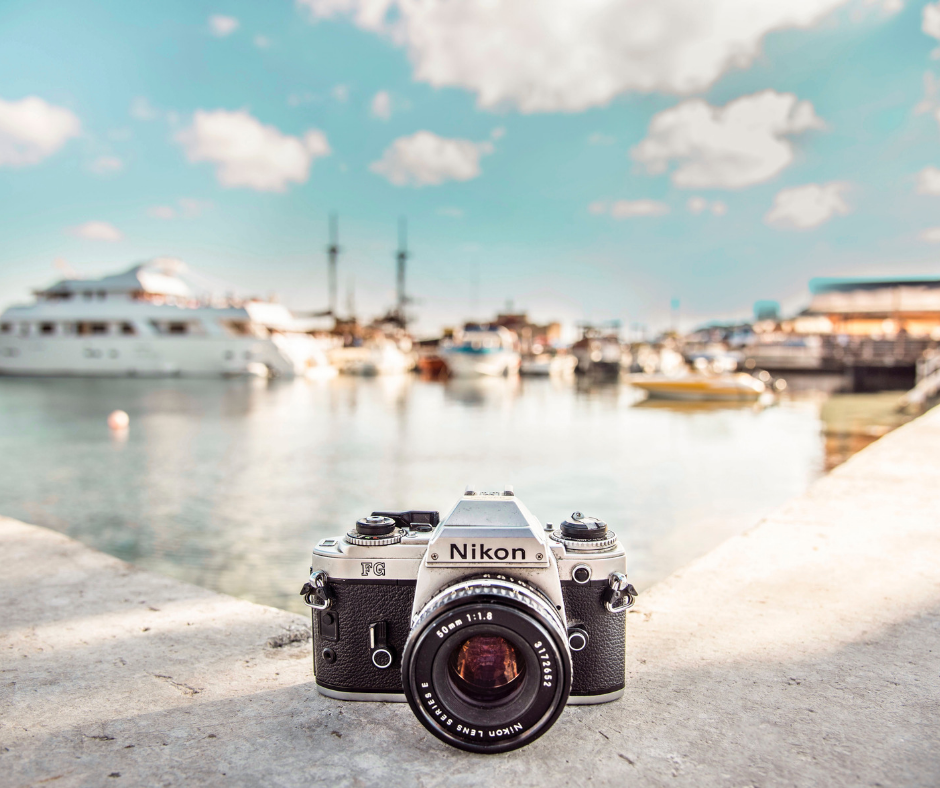
I went over this a lot before investing. I Googled probably every entry-level camera in existence. I didn’t want a point and shoot camera, nor was I ready for a DSLR. After searching forever and ever, I finally wound up with the Olympus OM-D EM10.
From what I found, a mirrorless camera was that perfect in-between camera for beginners. It allowed you to use it as a point and shoot but also if you eventually want to work on your photography you could use the manual version.
The thing is having a quality camera really ups your game online. When you go to a blog you can tell when someone has taken photos with their phone versus a real camera. Granted, I’m nowhere near a professional, nor does my camera take professional photos, but they are a lot better than they used to be.
GoPros
If you’re more adventurous something like a GoPro could be perfect, especially if you’re into making videos. While GoPros don’t necessarily offer you the highest quality of photo, they are fantastic for getting shots your camera definitely can’t.
During our trip to St. Lucia, we ended up renting a GoPro from the adventure spot and got some amazing footage. It really made me want to get one myself.
Gimbals
One thing I would suggest though is getting a stabilizer for your camera. For those of you unaware a camera stabilizer is actually called a Gimbal and is a really handy device to have especially if you have unsteady hands like me.
We’ve started to get more into videography so we’ve recently purchased a Gimbal. It’s the perfect device to use when walking around beautiful European towns. It really makes your video look professional, even if it’s taken from an iPhone.
Drones
We made the decision to buy a drone before we realized how many rules and regulations existed in flying it. It’s actually pretty insane how intense it is, especially here in Canada.
Unfortunately, we find that we really don’t fly it all that much anymore for that reason. I would highly recommend that you look into the regulations of the countries you plan on visiting as well, everywhere is different now.
We have a basic drone; the Phantom 3 Standard. I’m going to be honest, at first I wasn’t overly impressed with the quality of the video, that is until I saw what it looked like on a laptop and then I was super impressed. For a beginner drone, the footage is actually incredible.
Software
When it comes to actually using, storing, editing and uploading photos I now use a variety of programs. To be honest, it sometimes can take me longer to create and edit the photographs for my blog posts now that it does actually writing. I’m not sure what that says about my writing but I digress.
Lightroom
This is the photo editing software I use above and beyond anything else. It’s a condensed version of Photoshop and super user-friendly. I would definitely recommend signing up for the free trial but it’s not that expensive and takes my photos to the next level.
There’s also a mobile version which is amazing for editing photos before uploading them to Instagram. It will really take your Instagram to a whole new level with features like ‘healing’ where, if you’re skilled enough you can actually remove people from the shot.
Photoshop
For more complicated images I’ve used Photoshop a few times. While I don’t use it as often for actual editing, I do use it to make my photos more web friendly.
Even before I condense the files I need to make sure they are the proper pixels for online usage. I usually stick to 1024 in width and whatever height is associated (always smaller than that amount). Learning how to save my photos for the web has helped to increase my page speed immensely.
TinyPNG
One mistake I didn’t do in the beginning when I started to take my travel and blog photography more serious was storage size. Photos can be huge files. Huge files can seriously slow down your website as well.
After resizing my photos through Photoshop I always make sure to drop them through TinyPNG to make sure they get as small as they possibly can. I can’t even tell you the amount of storage this has saved on the website.
. I still barely know what shutter speed is and I sure as hell couldn’t tell you what settings to use when taking action photos BUT my pictures turn out pretty decently and that’s good enough for me!
What devices do you use for your travel and blog photography?
grace
Lightroom and Photoshop is an absolute must!
I’ve been saving up for a GoPro and a drone, and hopefully in the future, I’ll be able to purchase them!
I throw another vote for mirrorless cameras – it’s the perfect invention for a travel blogger! I, on the other hand, am way to invested in photography itself (mostly portraits and events), so a full frame DSLR naturally became my go-to camera for travel blowing as well!
grace ♥ http://www.gracee.co
Craig
Awesome photos.
madi
Thank you 🙂
madi
I’m glad you like mirrorless cameras as well – especially as such an amazing photographer as you! One of these days I’m going to have to give DSLR cameras a try!
Deasy Bergstrom
Mirrorless cameras are my go-to camera for traveling. But if I can muster up the strength to haul along a dslr around for a whole day, day after day, I would. I wholeheartedly agree with you that editing is such a big component in getting your image to that next level.
rockalittletravel (@rockalittletrav)
Improving my photography is a huge goal for me this year so your post was super helpful. Been wanting a GoPro forever, so hope to finally get my hands on one this month.