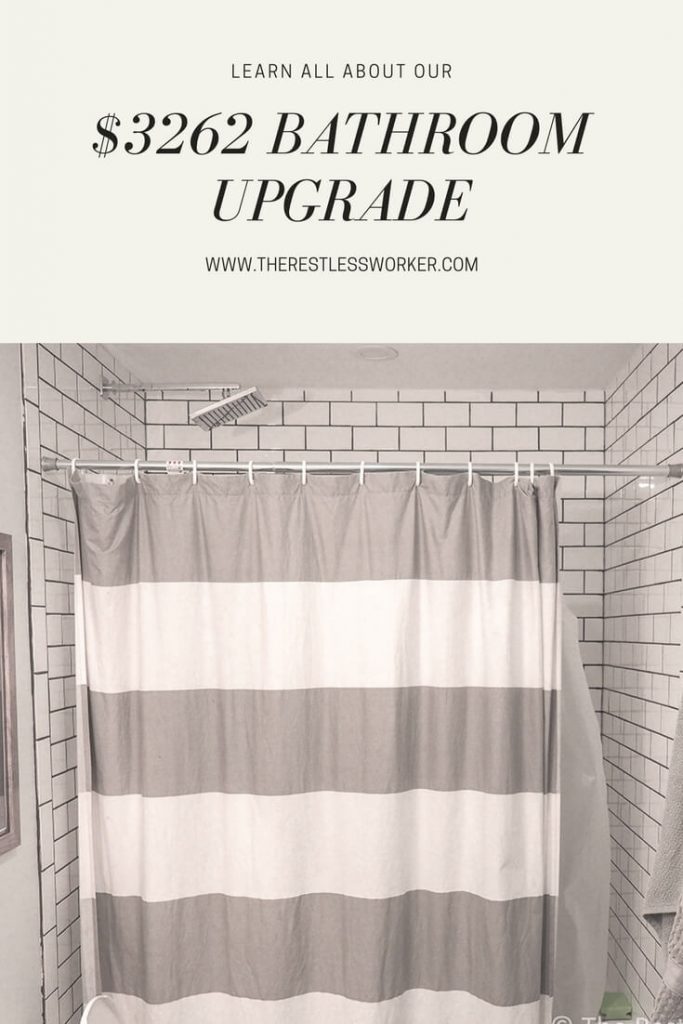
Our $3262 bathroom upgrade and what we learned
Those of you who follow us on Instagram may have seen our bathroom upgrade. Back in November, we bought our first home. I won’t lie to you, it’s been a bit of a crazy ride in a good way but also the worst. As we move through our renovations, we are taking it room by room. The first that was completed is probably the most important – the bathroom!
As first-time home buyers in the Toronto market, our hands were slightly tied in what we could buy. As, what many are experiencing around the world, the real estate market here has been crazy. This has made it very difficult for anyone to get on the ladder. With a limited budget, we’re trying to find ways that we can get our home as upgraded as possible without the expensive price tag.
Now if you’re a traveller reading this blog I know what you’re thinking, $4000 could be 2 international trips. Yup, it absolutely could. That is what has made this whole renovation process the most difficult. We could have funded ourselves around the world for a year with the amount of money we’ve spent. However, I like to see it as us putting money into an investment, an investment we will hopefully get to use later in life for way more travel.
I digress.
After the major upgrades were done (getting into that is a whole other post), our first course of action was the bathroom. As a small space we thought it would be a great way to get our feet wet. In terms of cost though, a bathroom is one of the most expensive rooms to upgrade. After a kitchen of course.
| Finding inspiration |
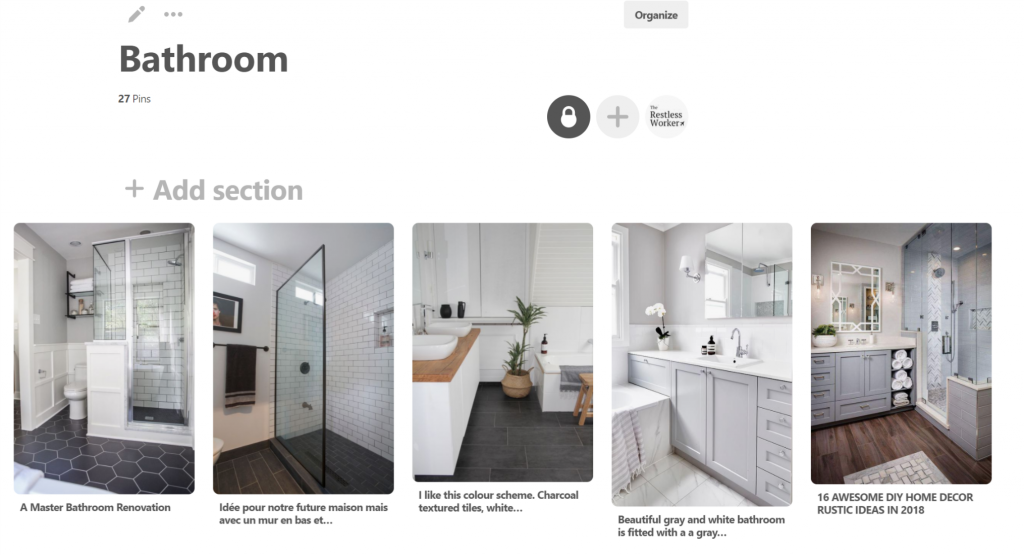
Like anything, ‘whether it’s travel or otherwise, I find my inspiration on Pinterest. There are thousands upon thousands of options on the platform it’s really the best place to find what you’re looking for. When we started I knew I wanted something simple, low maintenance but classy at the same time. Something that would last through a little wear and tear.
It took a bit of work pinning them to my board. I would revisit it every so often and do new searches. Once I found the style I wanted I went on the hunt to pull the photos together and search for them
| What we needed |
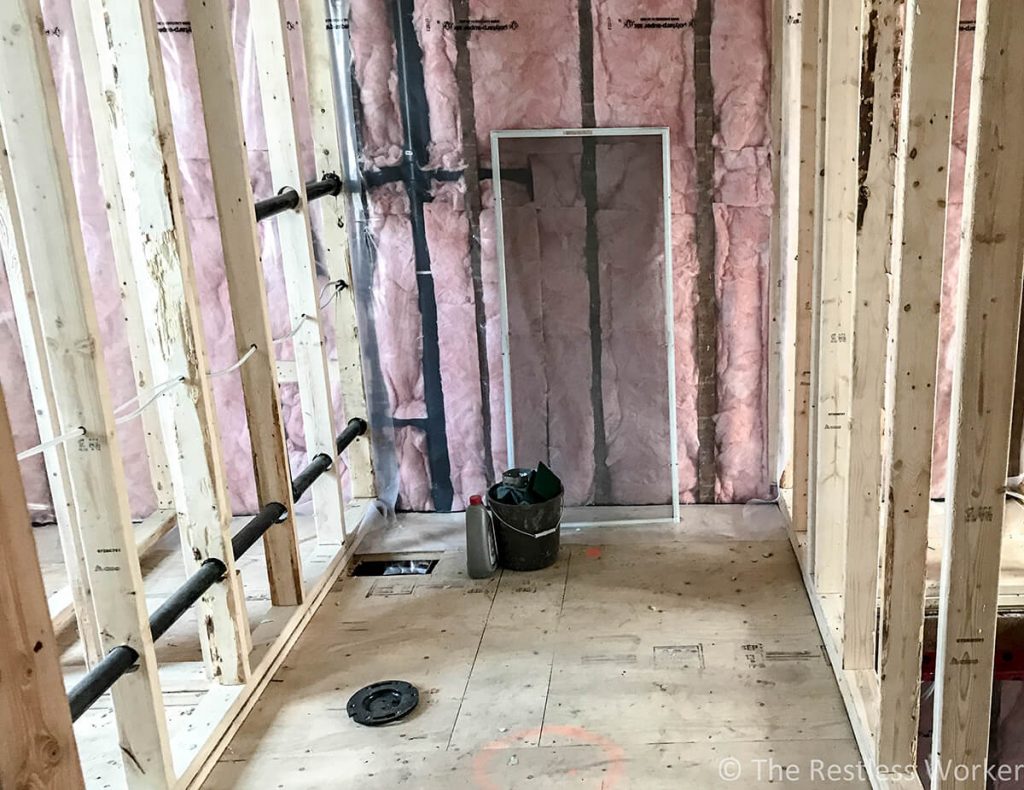
Basically, we needed everything, we were starting from total scratch which was a blessing and a curse at the same time. Going into this I had no idea how much entailed actually building a bathroom. Trust me when I say we learned a lot. Putting together a budget was also a bit difficult. Not having done this before, it took a lot of Googling.
We started off searching for what we wanted from the big box stores. Normally I’m all for the little guy but in certain cases we went for convenience and cost. For a number of elements in the bathroom we tried finding smaller, family-run businesses but for things like the vanity it just wasn’t working.
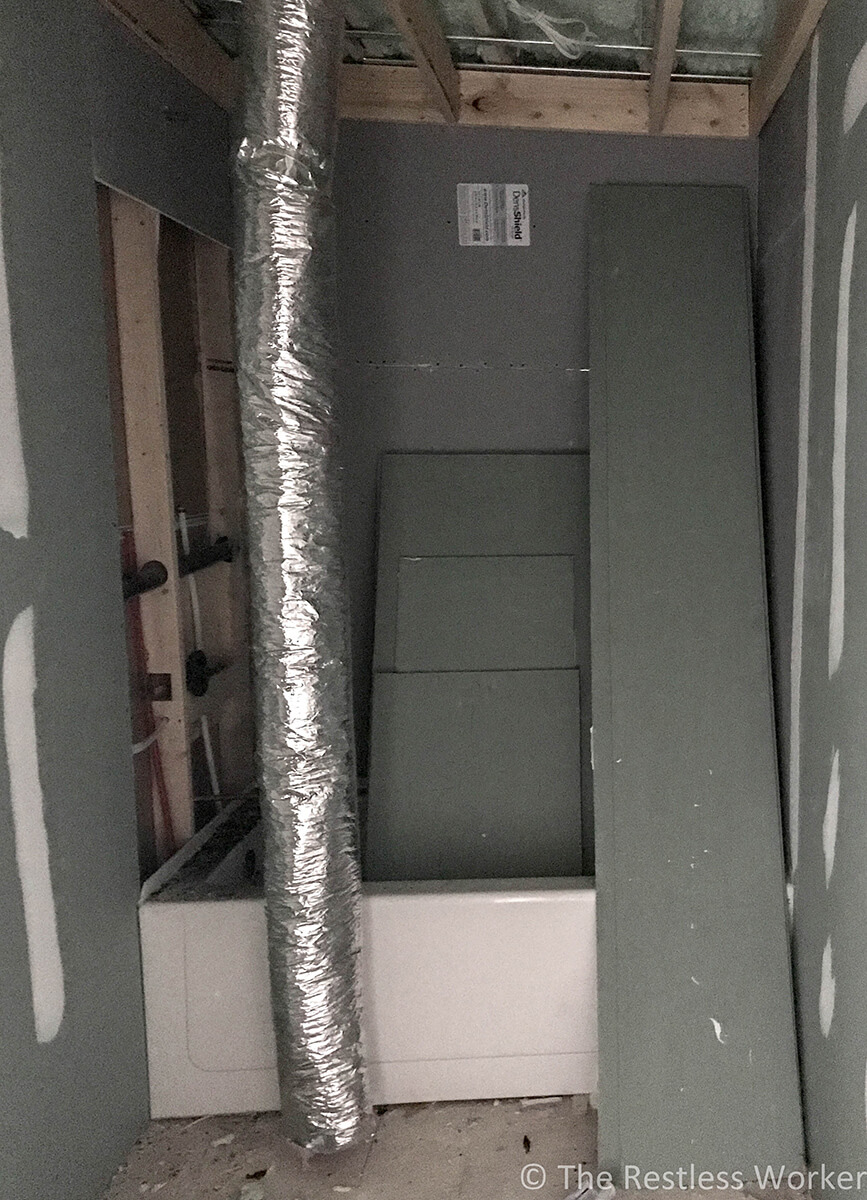
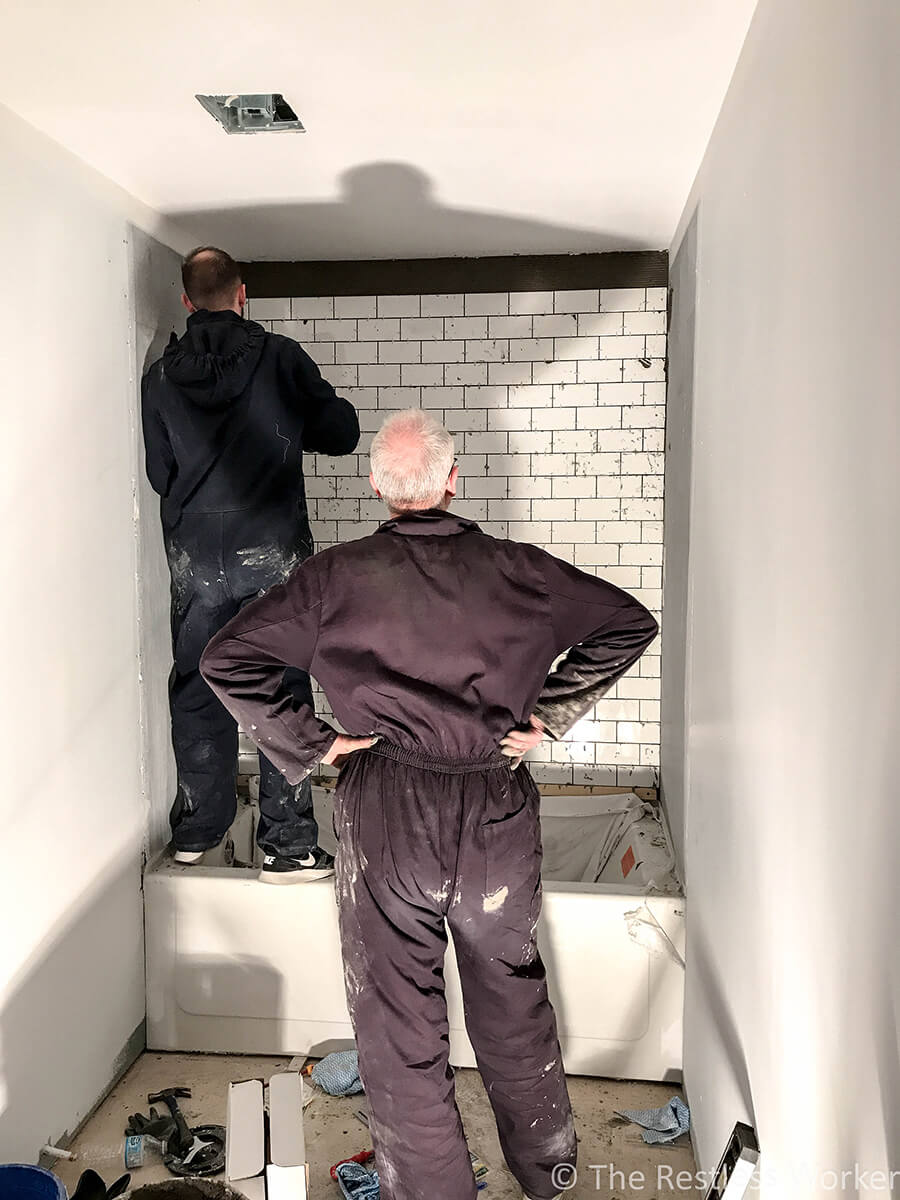
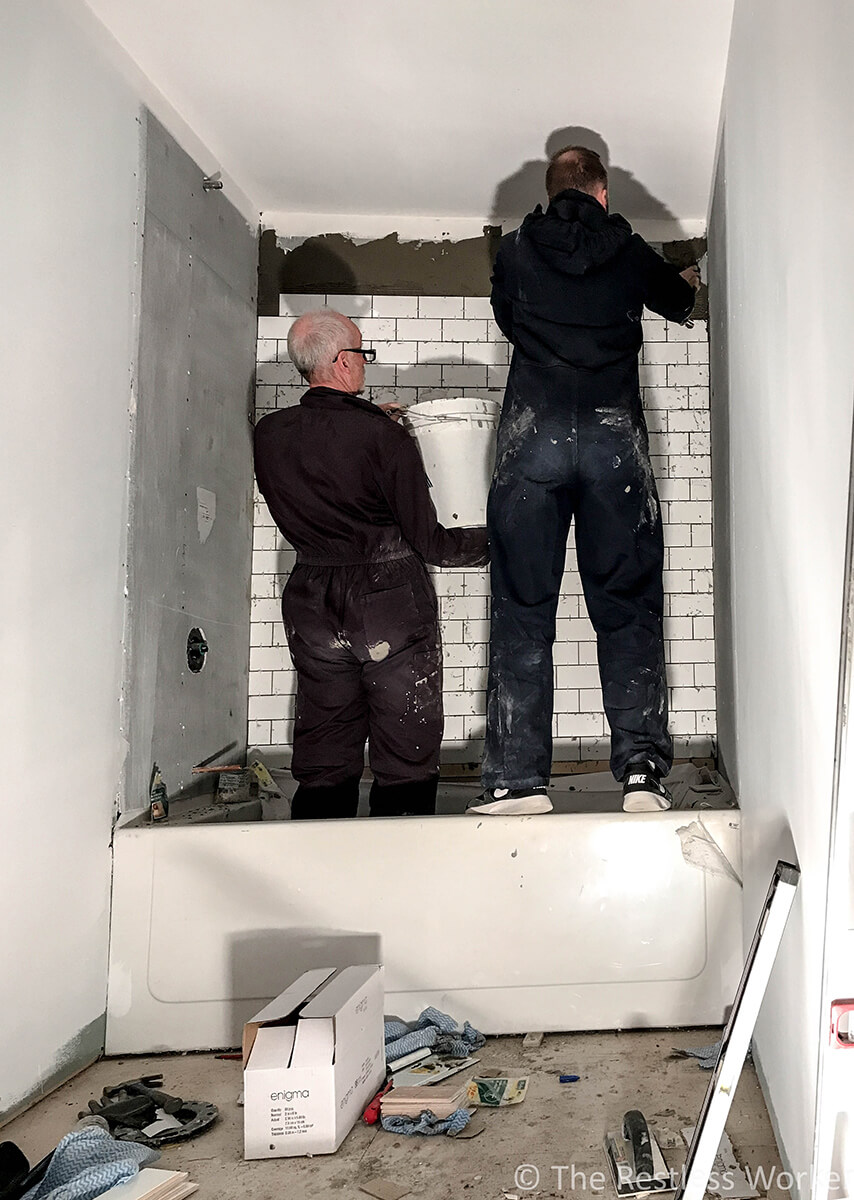
When it came to tiling, I think we massively underestimated what we were actually going to need. Thankfully Ben’s dad flew in for a week to help us, otherwise, I have no idea where we would be now! It was stressful having to pick out the tiles, the grout colour and then deciding the aesthetics of how it would all fit together.
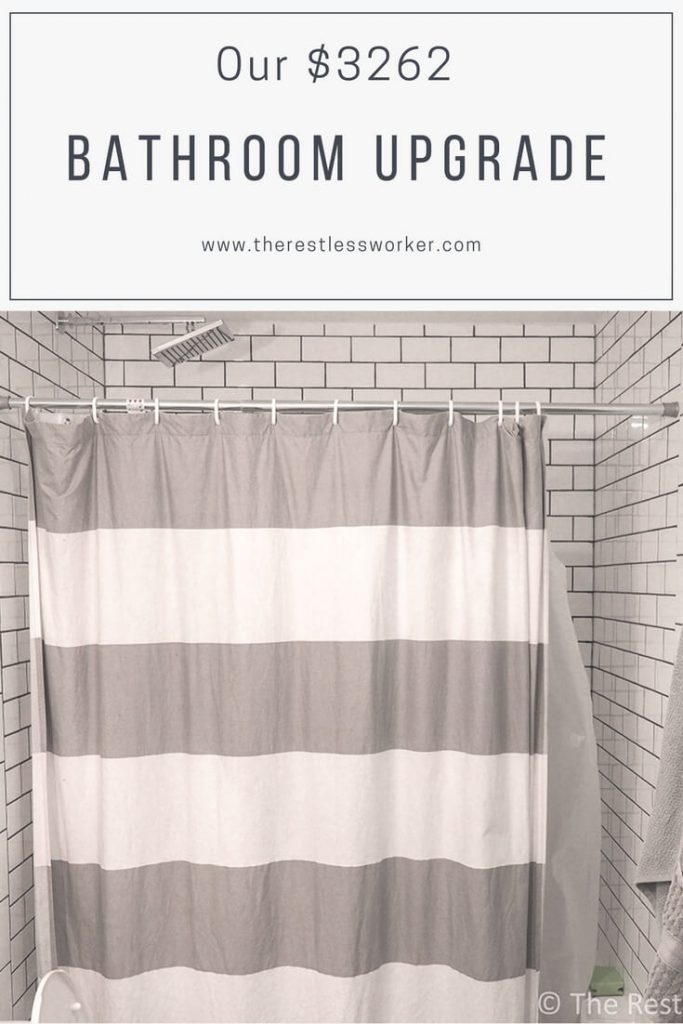
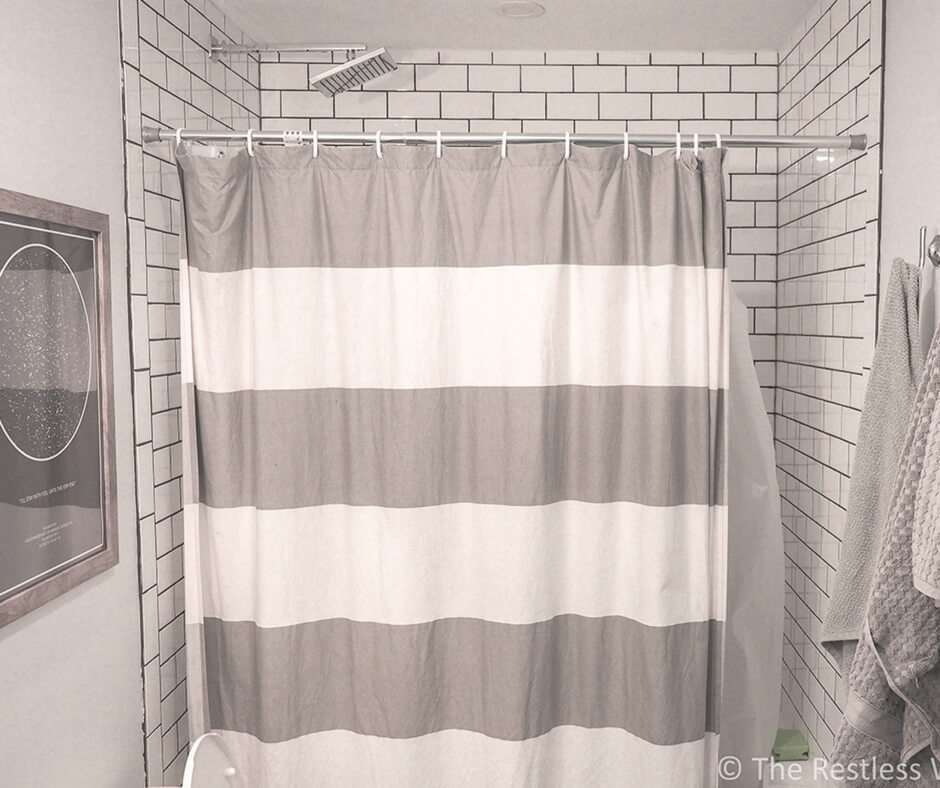
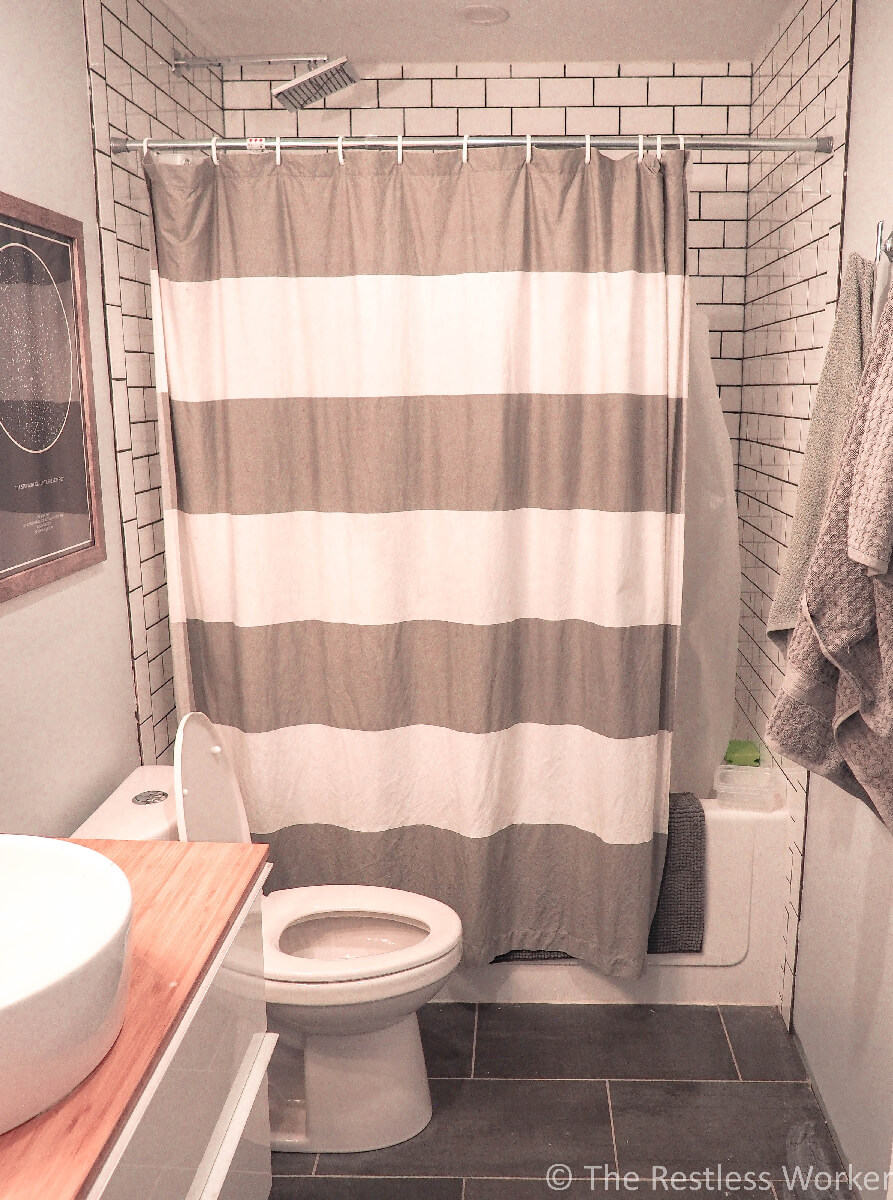
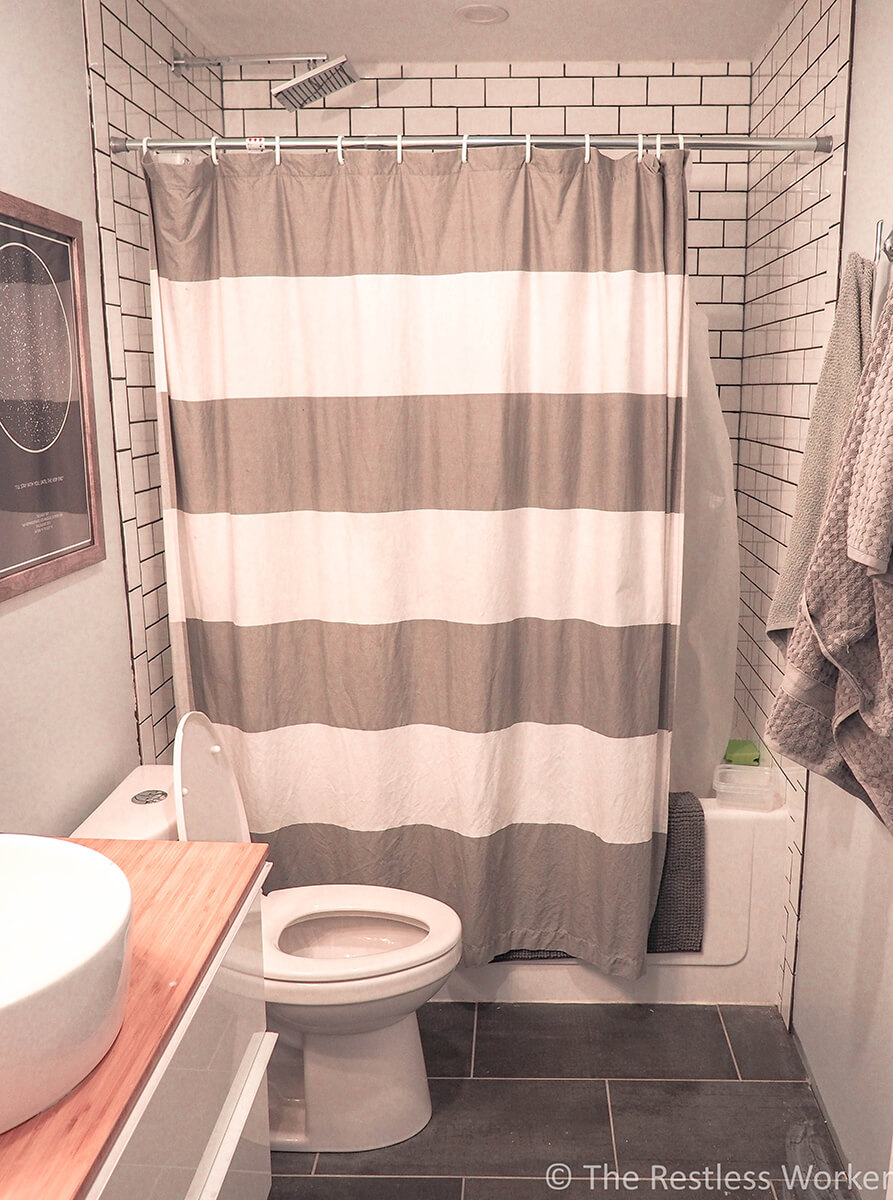
Based on the inspiration we sourced, I liked the idea of having the white subway tiles for the bathroom and dark larger tiles for the floor. I loved the contrast of light and dark in some of the inspirational photos we found and I think Ben and his dad did a really great job bringing it all together.
| Tips for renovating a bathroom |
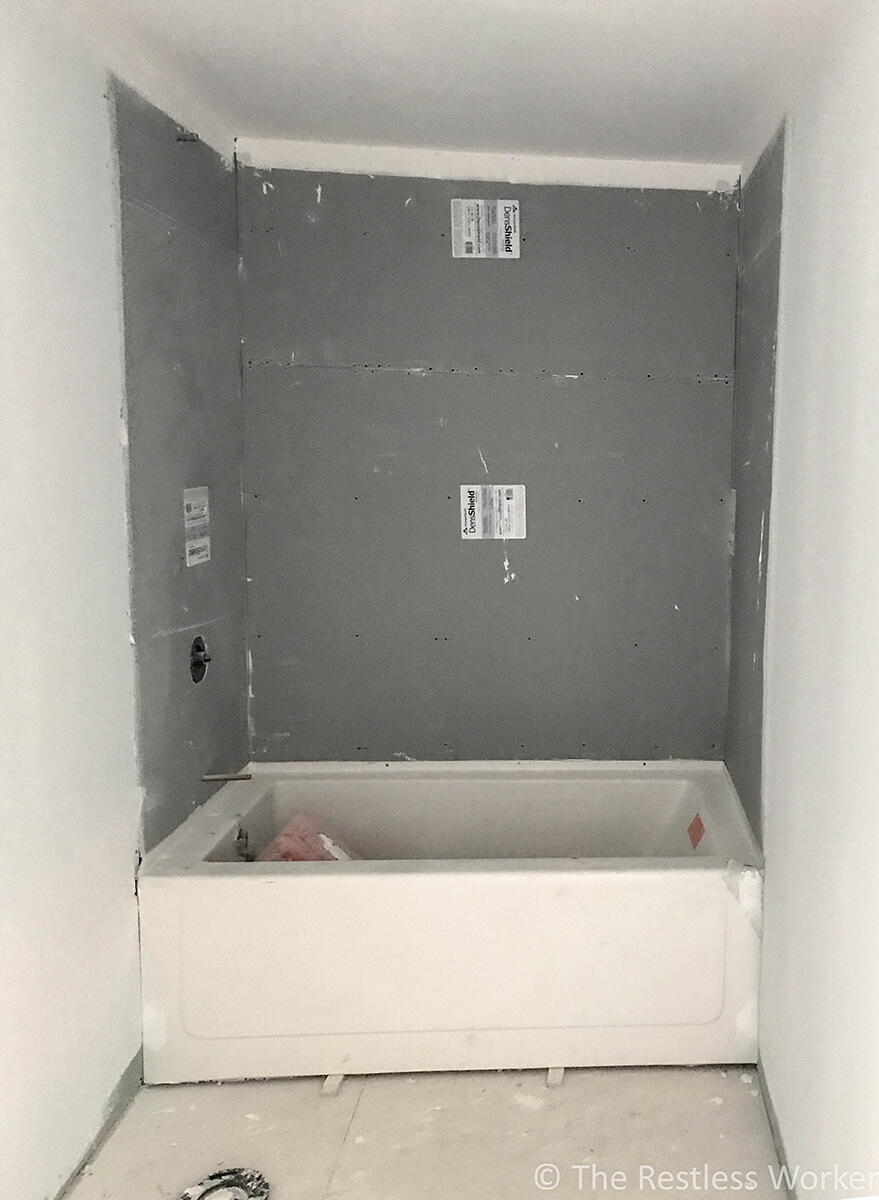
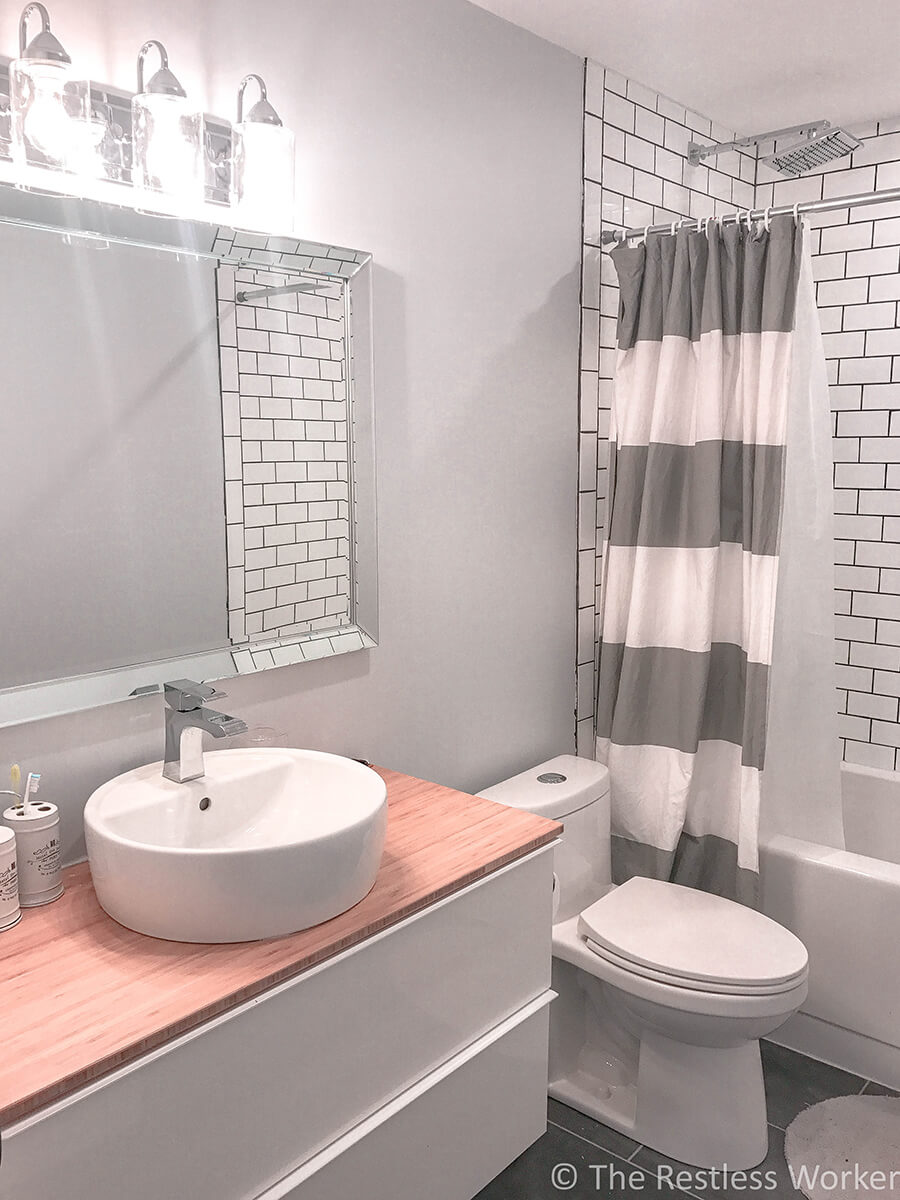
I think the most important thing when it comes to renovating a bathroom is knowing what you’re happy to ‘cheap’ out on and what you want. We were told by several people that buying the more expensive shower head and faucet would definitely be worth it. As a trade-off, we opted for the Acrylic bathtub. I’m really happy with how this turned out because the bathtub is actually the perfect size and being Acrylic, it was easier to install.
When choosing colour schemes, because bathroom spaces can be really small I think it’s best to go with neutral, calming colours. We are incorporating greys, navy blues and white for a more serene space.
If you have the option of putting a light in where your shower is going to be, do it. I was hesitant to agree to this at the beginning because I knew we were already over budget in a lot of other areas in the house. It is one of the best decisions I made saying yes to the light. Having a bright light when shaving your legs is a game changer, trust me.
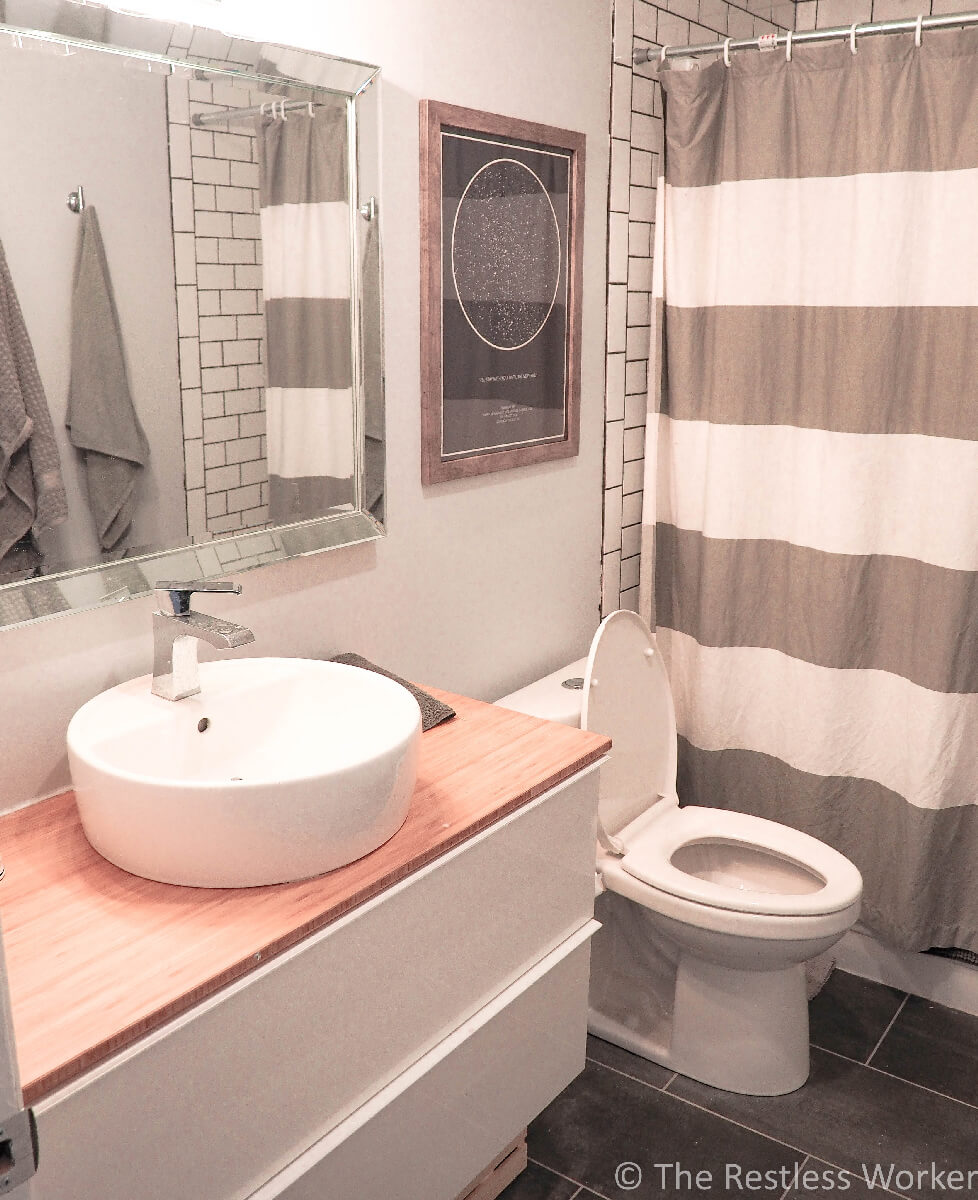
The other thing I learned along the way was that having a bigger vanity is the best option. I hate the way mirrors with storage in the back look and I really wanted to avoid buying one. The vanity we chose has more room than we could even need which meant we only needed a flat mirror above. I’m actually obsessed with the mirror as well!

| The budget breakdown |
In the end we were actually under budget for our bathroom upgrade. Thank God. With some careful planning, and even more diligent budgeting we tracked every last dollar spent. I say we, but we all know I mean me.
Definitely, do your work in searching for deals or ways to save money. We were lucky when it came to the bathroom vanity because we had used a deal from the IKEA kitchen event to basically get the vanity for free. I would also say you should order more tiles than you think you’re going to need. In all likelihood you will need most of them, and the ones you don’t you can return.
So what was the final budget breakdown?
Bathtub | $450
Shower head | $250
Faucet | $150
Vanity & sink | $580
Toilet | $202
Mirror | $190
Light fixture | $215
Shower tiles | $280
Floor tiles | $265
Materials | $650
Towel hooks | $15
Towel rack | $15
Total: $3262
We hope this has inspired you to give your bathroom an upgrade!