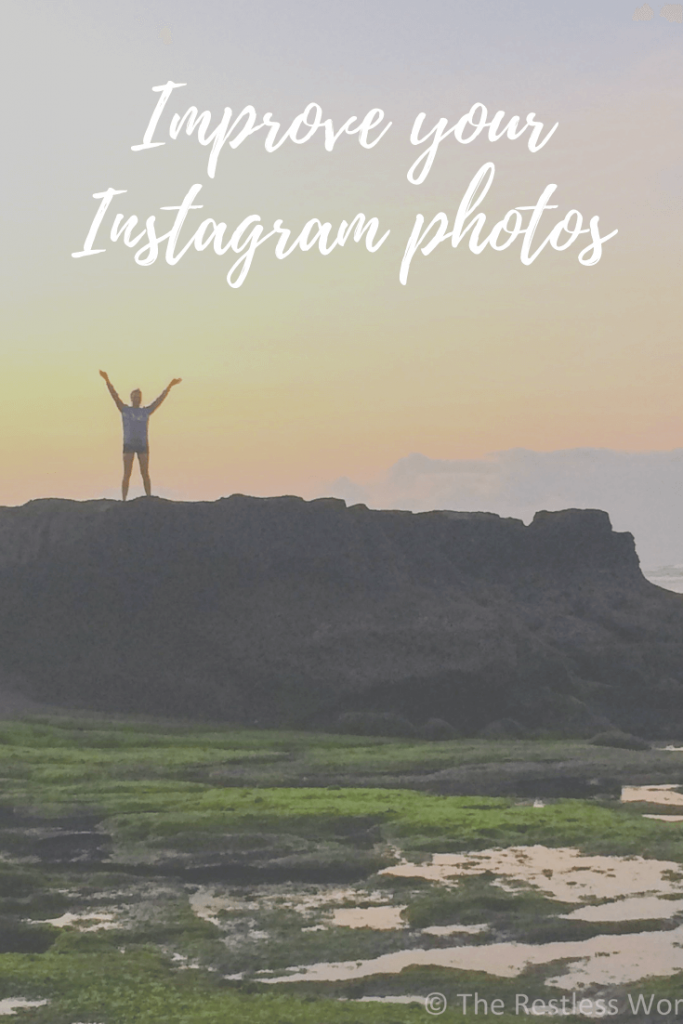
4 tips for taking the best travel photos
Look I don’t pretend like I’m a photographer but there are a few things I’ve learned over the years about taking the best travel photos. As the world of social media takes over people are obsessed with taking that perfect shot. I’m no different, falling victim to the ‘do it for the ‘gram’ mentality (always safety first though..).
In the beginning I didn’t have the best equipment. In fact, I mostly traveled with just my phone and relied on that for photography. As my blog grew and I learned more about digital photography I upgraded my equipment purchasing the Olympus OM-D E-M10. To this day I adore the camera, you can download images right to your phone instantly and use the remote to take the perfect pictures without asking strangers.
Having traveled to almost 20 countries in the last 5 years I’ve had a lot time to figure out my travel photography so that I can ensure I’m getting not only good blog photos, but ones suitable for Instagram as well.
Want to take your travel photography to the next level? Read on:
More is always better
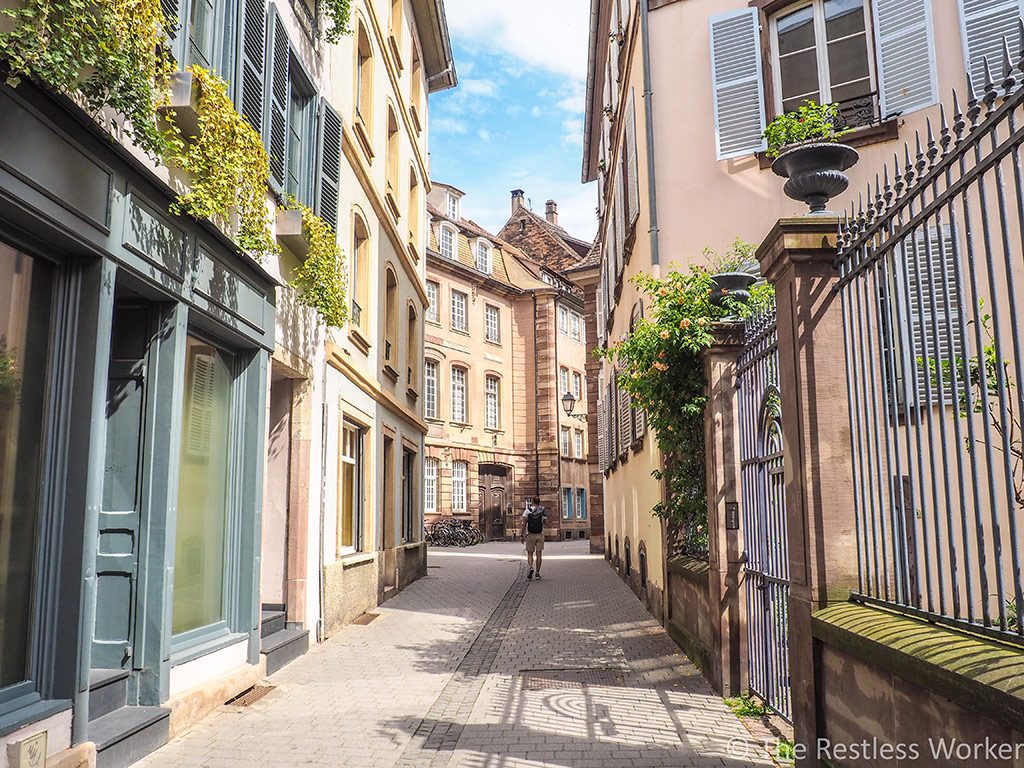
This is one thing that has taken me some time to learn over the years, the more images you take the better. It’s not uncommon for me to take up to 500 in one day. I mean honestly, during our one day trip to Colmar I think I took over a thousand in one day.
No I’m not using all of those photos, but there’s a great chance of me finding that perfect photo when I have tons to choose from. In all honesty, I bet more than half of them just get uploaded to the cloud and are never used.
The other thing I always do is take photos on my phone and my camera. Even if it’s the exact same shot. Why? I find cameras tend to take slightly different photos. I upgraded my phone to the Google Pixel 3 recently and while the photos are unreal, sometimes my camera outperforms (and vice versa).
Burst it
It took Ben (and me) too many countries to figure out this little phone trick. I was often finding that the photos Ben was taking of me had something slightly wrong that I wish was tweaked at the time, or that made the photo unusable. Eventually we had the brilliant idea of using bursts!
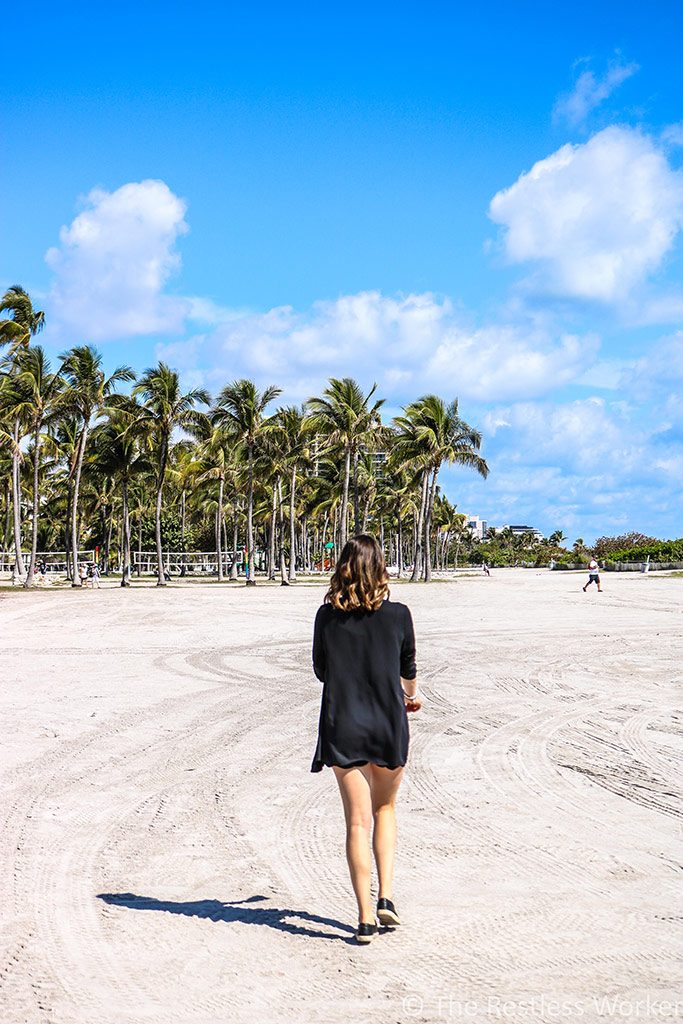
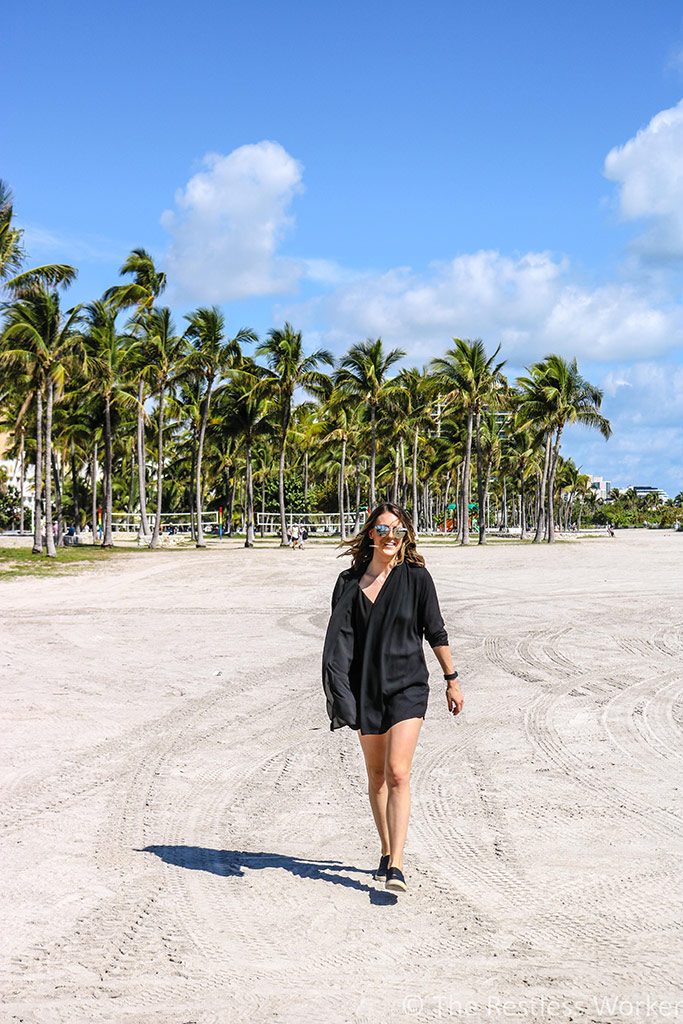
As far as I’m concerned, most (if not all) smart phones have this feature with their camera feature. If you’ve never done it, I encourage you to test it out. All you do is hold down the capture button when you are going to take a photo. This will take TONS of photos within the span of seconds. When we use this function I often move around in the photo so that we can go through after and pick the perfect image.
Since we’ve done this it’s very rare that I leave a destination with a bad image of me (or him). If you take one thing away from this entire article, start bursting your photos – it’ll step up your Instagram game to no end I promise.
Up your editing game
This was another lesson I wish I had have learned a lot sooner. For the longest time I wasn’t editing my photos before uploading them onto my blog. Then I was editing through weird web software that distorted the images. Eventually I discovered Lightroom and have never looked back.
While you will have to pay a small monthly (or annual) fee to use Lightroom, I think it’s worth every single penny. Not only can you edit photos on your computer if you plan on uploading them from there but they also have an unreal mobile app that allows you to edit photos on the go before posting them on Instagram. Some bloggers have presets you can buy but honestly if you give yourself a bit of time to play around with it you’ll find that you can easily create your own.
Another mobile app I tend to use for our Instagram photos is Snapseed. My typical process for editing for Instagram is usually: Snapseed > Lightroom > Instagram editor. I know it seems ridiculous but I find Snapseed offers some functionalities that Lightroom doesn’t and vice versa. Then by the time I upload it to Instagram there are just minor tweaks I need to make before hitting publish! Yes, it’s quite the process.
Always have a backup
This was a hard lesson I had to learn that I hope you never have to. My computer a couple of years ago decided to just die on me and I ended up losing photos from the trips I took before 2014. I was devastated. I mean my photography skills weren’t exactly at their peak but they were still images I could have edited or adjusted to make them nicer.
Since then I’m almost obsessive about making sure my photos are uploaded to the cloud instantly after taking them. I purchased a OneDrive account a couple of years ago which gives me 1TB of space. So far I have yet to come close to using half of that, and trust me I have some huge files on there.
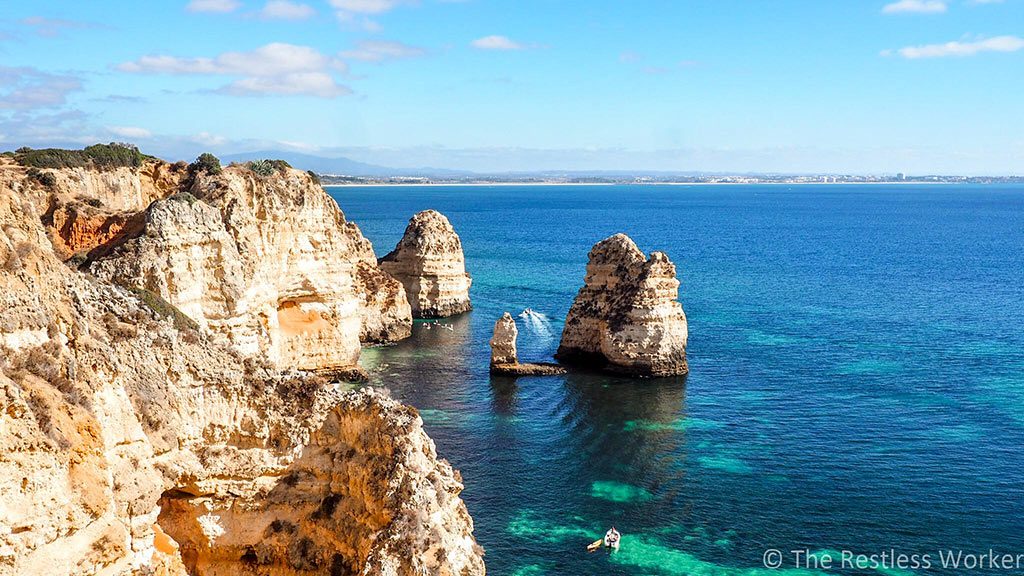
Not only does this help me save and house my photos, I can access them wherever I want. Their mobile app allows me to grab photos while on the go, if perhaps I feel like posting an Instagram photo from that trip to Lisbon in 2016 or perhaps our honeymoon in St. Lucia in 2017.
Have any more tips? We’d love to hear them!
*This post contains affiliate links which means we might make a bit of money should you purchase through the links provided. It’s at no additional cost to you